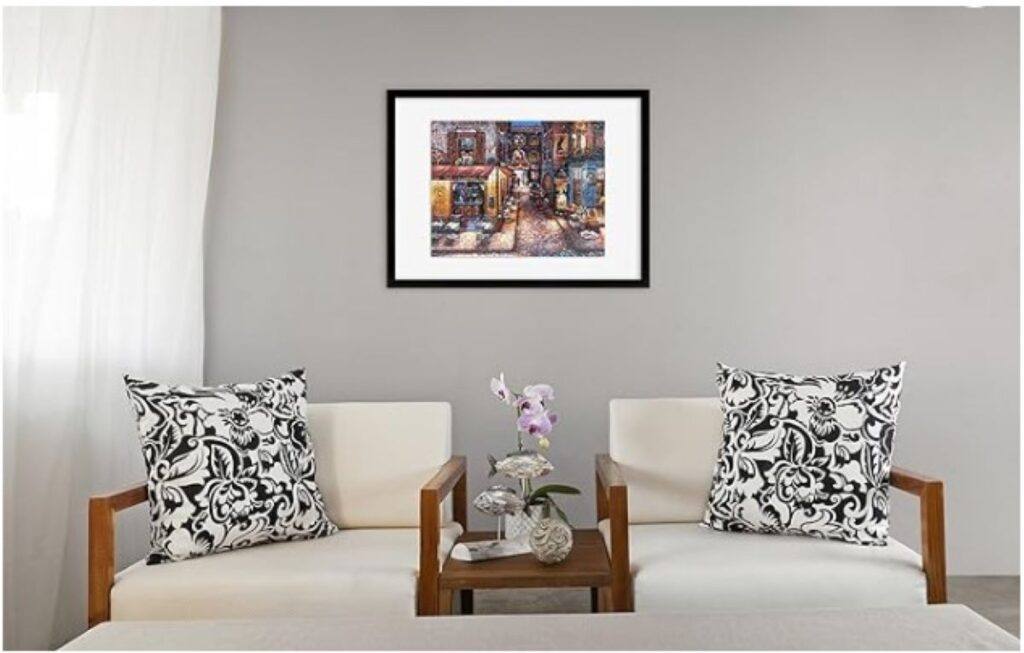
For many of us, jigsaw puzzles are more than just a pastime; they’re a way to capture moments, to challenge ourselves, and often to bond with friends and family. If you’re the kind of person who feels a sense of pride after placing that final puzzle piece, you’re not alone. Framing a puzzle can transform it into a work of art, ready to hang on your wall and spark conversations about it.
Before getting into the specifics of glues and frames, know that the advice I share is backed by thorough research, personal experience, and enthusiasm for puzzle preservation. Giving you the confidence to decorate your space with your own creations is my goal. I’m going to walk you through some practical advice on this craft, ensuring that your finished product not only looks fantastic, but lasts for years to come. First, let’s start our discussion by selecting the method of how to preserve jigsaw puzzles.
Choosing the Right Method to Preserve Your Jigsaw Puzzle
Selecting the right method is a matter of preference when it comes to how to preserve jigsaw puzzles. The two primary methods are liquid glue and adhesive sheets. There are also some spray glue and powder glues available, but those are not my preferred method due to the inconsistency of the final puzzle quality.
Liquid puzzle glues are specifically designed to bond the front of the puzzle paper materials without causing warping or peeling. The adhesive sheets are designed to adhere to the back of the puzzle to hold pieces together. Each method has its own advantages and disadvantages. The liquid glue provides a stronger bond as it seeps into each crevice where puzzle pieces join. Whereas the adhesive sheet provides bonding only on the back surface area. The liquid glue can be messy, which is not a concern for the adhesive sheets. The liquid glue will change the appearance of the puzzle picture, in most cases making it glossier. The adhesive sheets do not alter the puzzle picture at all. You can also choose to use both methods combined to make the puzzle sturdier if you don’t want to glue both front and back and are considering mounting it without a frame.
Factors to Consider When Selecting a Glue
When choosing a glue, consider the following:
- Ease of Application: Some puzzle glues are better than others when it comes to how easy it is to apply. The viscosity of the glue should be at the right consistency to allow it to come out of the container easily, but not so thin that too much of it runs right through the puzzle piece edges to the back of the puzzle. Also, look for glues that come with an applicator. Although you can use other methods to spread out the glue, some have applicators that are best designed for this purpose.
- Number of Coats Required: Many puzzle glues will do an adequate job with only a single coat but may not give you the results you desire. Some glues may require a second coat to give you the confidence in providing the necessary structure or to give you the desired glossiness. A second coat may require purchasing more glue than you originally planned.
- Drying Time: Some glues dry within an hour or so, while others might need significantly longer. Selecting an ideal drying time can be tricky. If the glue dries too quickly then it may start to set-up before it can be spread evenly across the surface. On the other hand, drying to slowly can leave you vulnerable to the puzzle being bumped or otherwise disturbed during the drying process.
- Clarity: A glue with lower clarity will diminish the final puzzle picture. To preserve the picture closer to the original quality, it is important to look for a glue that maintains a clear view of the puzzle after the glue has been applied and dried.
- Final Sheen: Some glues will provide a glossier look when dried than other glues. This is a matter of preference. Depending on the lighting in the location for mounting the final product, you may desire a less glossy finish to minimize the glare.
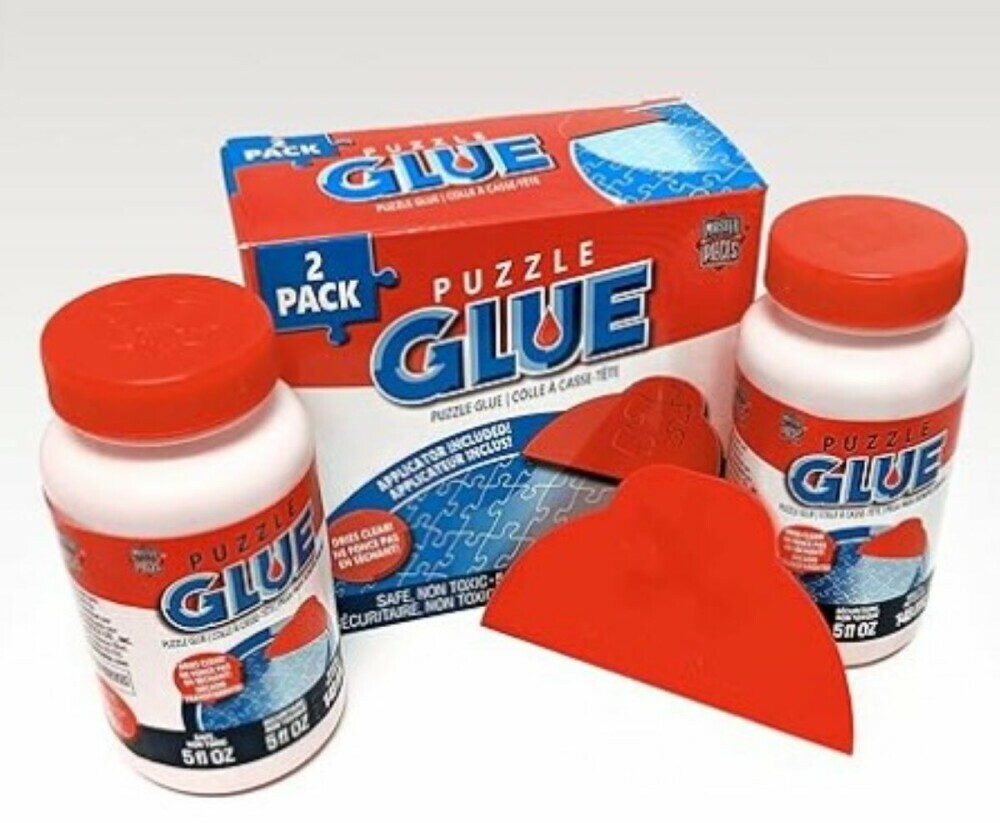
Highly Recommended Puzzle Glues
See my article Best Glue For Jigsaw Puzzles for highly recommended glues that are best suited to give you a quality masterpiece that you will be proud to display.
How To Apply the Glue
The process of applying the glue to the finished jigsaw puzzle is straightforward. Although I will provide some generic steps for the process, it is always best to follow the specific manufactures recommended instructions. Here are some general steps:
- Place your puzzle on a protective surface. There is a chance that some of the glue will seep through the puzzle or spill over the edges as you are spreading it out. Consider using a piece of thin plastic, wax paper, parchment paper or something similar under the puzzle.
- Consider wearing plastic gloves to minimize your own cleanup.
- Apply the glue and spread it evenly with the provided applicator or a sponge brush, starting from the center and working outward. Caution – brushing or sponging on too much glue at once may ruin the project by causing the puzzle to peel or swell. Take care to remove any bubbles and smooth out any streaking.
- Allow the glue to dry completely before moving the puzzle. Give it plenty of time. It may not feel tacky to the touch but could still be drying in the piece crevices.
- If the edges curl up a bit when the glue has dried, you can try adding a coat of glue on the backside of the puzzle or you can cover the surface to protect it and place a weighted flat object that is bigger than a puzzle on top of it for about 24 hours to flatten it out.
- Even if curling is not a problem, you still may want to consider applying a glue coat to the back, like the method used on the front. Gluing the back is recommended for added structure if the puzzle will not be mounted to a backing board or placed in a frame that will provide that additional support. As discussed earlier, you can also choose to apply an adhesive sheet to the back as an alternative method to gain this additional structure.
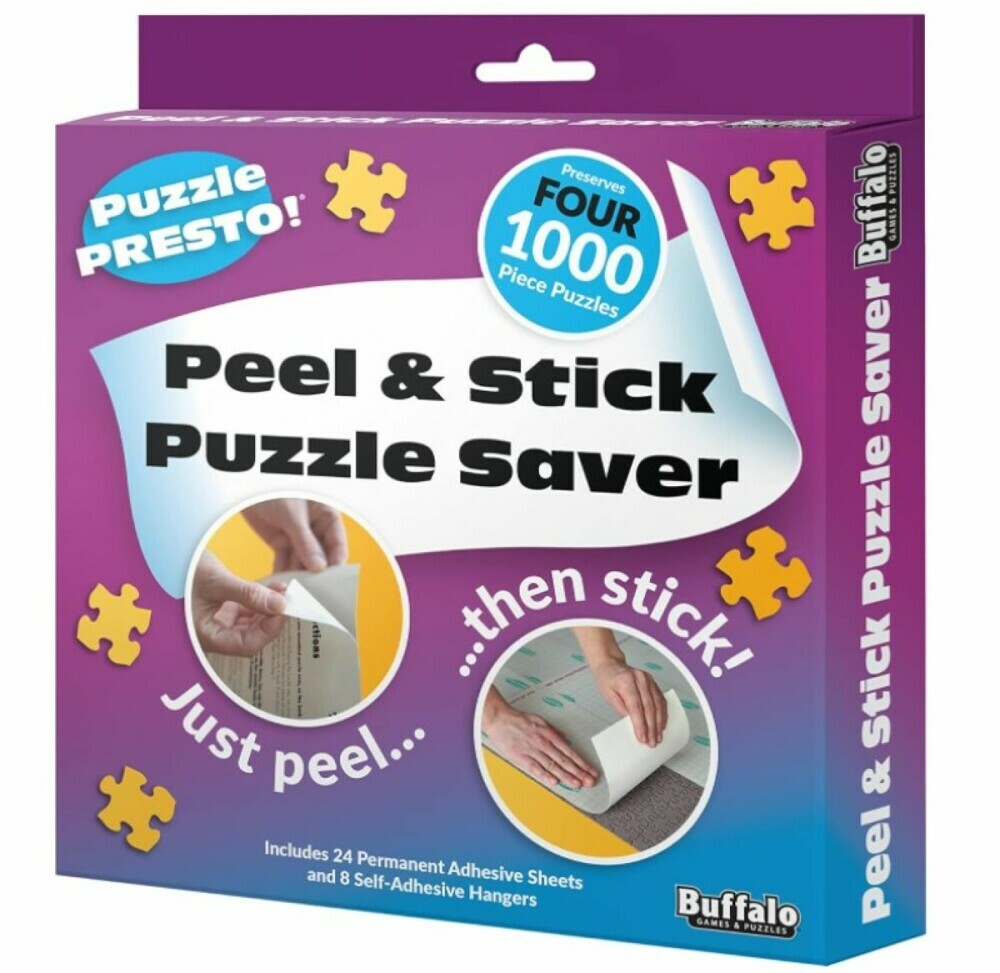
Adhesive Sheets May Be Your Preferred Alterative
Now that you’ve got the gluing or adhesive task completed, let’s think ahead to showcasing your work. In the next section, you’ll find out about the different frames you can choose from and how to pick the perfect complement to your puzzle.
See my article Best Glue For Jigsaw Puzzles for highly recommended glue adhesive sheets.
The Art of Selecting the Perfect Frame
When selecting a frame, there are some key aspects to consider. Choose a frame that not only showcases the puzzle’s artistry but also fits your home’s aesthetic. When selection meets sentiment, it elevates your framed puzzle to a statement piece with a story—a conversation starter that captures your dedication and artfulness.
- Size and Thickness: Ensure not only that the frame has the width and height you need but is also deep enough for the glued puzzle. Remember that the puzzle has more thickness than a standard photo or poster and therefore the design of the frame needs to allow for that added thickness. You don’t want your masterpiece to be cramped or slipping out. Depending on the manufacturer, you may need to look for frames that claim to have shadow-box capabilities.
- Style: Choose a frame that completes the artwork. Wooden frames offer a classic look, while metallic frames can be more modern. Plastic frames can also be an option for the budget sensitive puzzler. The frame should sync with the vibe of the puzzle and your personal decor tastes. Choose something that resonates with you, as it may be a central piece in your space. Also, consider the material that will cover the face of the puzzle, if any. Glass and acrylic coverings have different glare components, and one may enhance the view of the puzzle while the other may detract from the desired view. You may decide to dry mount the finished puzzle on a piece of foamboard to avoid the need for a glass or acrylic covering. In this case, don’t forget to consider the added thickness of the foamboard if you still plan to put the completed puzzle in a frame.
- Durability: You may want to select frames with a glass or acrylic cover to protect against dust and fading. As discussed earlier, you can choose to leave the puzzle front exposed to the elements, but there are additional risks associated with doing so. Additionally, less expensive frames designed for lightweight posters may not hold up well when used with the added weight and thickness of a jigsaw puzzle.
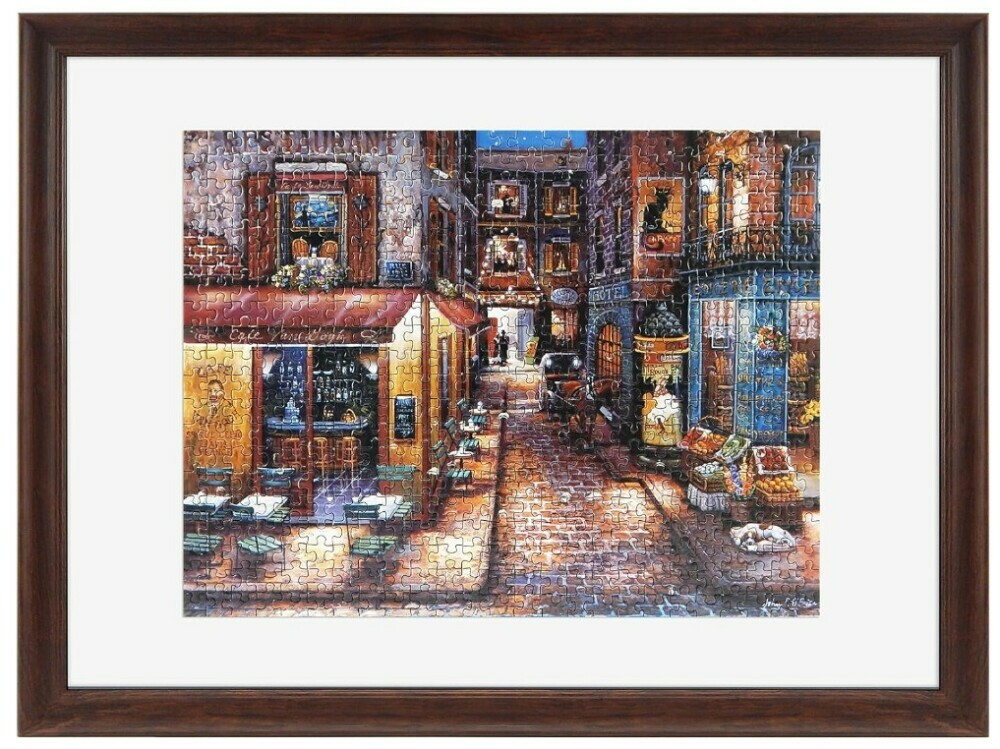
Some Recommended Frames
- MCS Frame for Puzzles: Natural backing with attached hinged hangers to hang vertically or horizontally. Lightweight 1 inch frame molding that is available in several colors. Clear styrene front protects image from dust.
- Fun Memories Store: Natural oak wood frame with tempered real glass with mat. Provides structure, protection and a quality aesthetic look.
- ArtToFrames Custom Frame: Offers custom sizing and multiple color options, perfect for uniquely sized puzzles.
DIY Framing Options
For those who love crafting, consider building your frame. This would give you full control over size, depth, and style, fitting your puzzle like a glove. Constructing your own frame can be an equally rewarding project. Materials can be purchased from local craft stores, and tools like miter saws will help create perfect corner cuts.
Displaying Your Puzzle
- Secure the puzzle to the frame backing, ensuring no pieces are loose or misaligned. Depending on the frame you selected, you might use adhesive strips or a mounting board. Whichever method you choose, make certain that your puzzle lies flat and is evenly distributed within the frame.
- Hang your framed puzzle in an area away from direct sunlight to avoid fading.
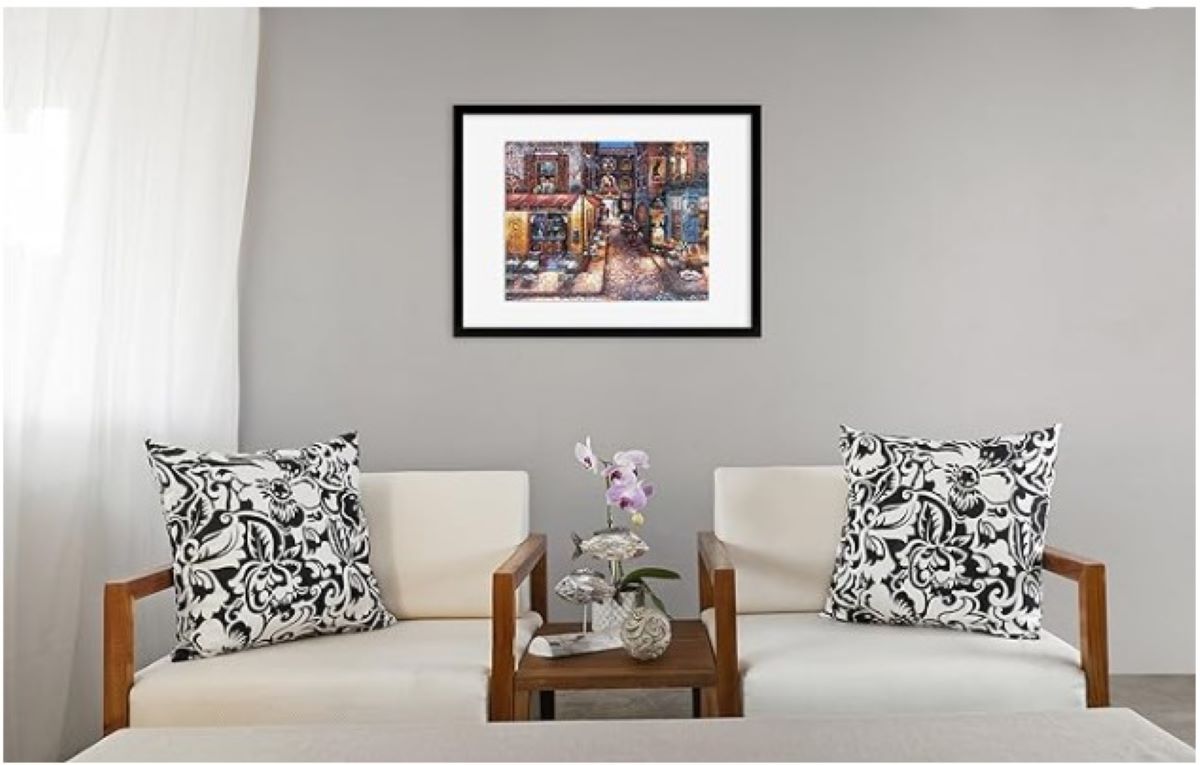
- Displaying your framed puzzle is not just about finding wall space; it’s about showcasing a personal achievement. You can hang it using the appropriate fixtures for your wall type, and don’t forget to use a level for a perfectly straight finish.
- Consider the lighting in the area where you’ll hang your puzzle. Good lighting can make the colors and details of your puzzle pop, turning it into a focal point in the room. Bad lighting can result in glares that detract from the beauty of your finished piece of art.
- Caring for your framed puzzle is simple but essential. Clean the glass or acrylic covering with a gentle cleaner to keep your view unobstructed. Regular dusting will also keep it looking pristine.
Final Thoughts
The art of preserving and displaying jigsaw puzzles does more than just extent our puzzling hobby—it transforms our achievements into lasting decorations for our living spaces. Through the detailed guidance provided, from selecting the most effective adhesives to choosing the perfect frame, this article gives puzzle enthusiasts the information needed to elevate their completed puzzles into artful displays. Whether choosing the bond of liquid glue or the simplicity of adhesive sheets, each method offers a way to cherish those meticulously assembled jigsaw puzzles. By following these steps, not only can you safeguard your puzzles against time, but you can also create engaging conversation pieces that reflect your dedication and creativity. Remember, every puzzle piece placed is a step towards crafting a unique story and a personal work of art.
Follow us on Facebook for more articles, tips, tricks and giveaways!
Here’s a little transparency: Our website contains affiliate links. This means if you click and make a purchase, we may receive a small commission. Don’t worry, there’s no extra cost to you. It’s a simple way you can support our mission to bring you quality content.


I loved your article! I am not a Jigsaw Puzzle enthusiast, but it’s a pastime I’ve enjoyed since childhood and I have promised myself to take up the hobby again in my semi-retirement. My family has bought me several puzzles that are still intact in their original boxes. Until I read your blog, I had no idea that finished puzzles could be glued and framed and you have given me renewed enthusiasm to start. Best regards, and well done!
Thank you for your positive comments on the article. I’m glad that it may have sparked something in you to find ways to enjoy the hobby again. I retired a few years ago and it allows me to dedicate more time to all different types of puzzles. Take care!
I just finished reading your article on how to glue a jigsaw puzzle for framing, and I have to say, it’s fantastic! Your step-by-step guide is so clear and easy to follow, even for someone like me who’s new to preserving puzzles. I especially appreciated the tip about using wax paper underneath the puzzle to prevent it from sticking to the table—such a clever idea! One question I have is about the type of glue you recommend. You mentioned using puzzle glue, but can regular white glue work in a pinch, or is it essential to stick with the specific puzzle glue for the best results?
Also, the part where you explained how to apply the glue evenly using a plastic spreader was super helpful. I’ve always worried about making a mess or not getting the glue spread correctly. Your advice really boosted my confidence to give this a try. I’m curious, though, how long should I wait before I can safely lift the glued puzzle without it falling apart? Thanks again for such a well-written and helpful article!
Thank you for your thoughtful comments and questions, Bob. My goal is to provide high quality content for all puzzlers seeking it out. Regarding your two questions:
1. Puzzle glue is specifically designed for preserving completed jigsaw puzzles. It’s easy to apply, dries clear and hard, and does not yellow over time. Regular white glue (i.e. Elmer’s) can be used; however, it may not be suitable for larger or heavier puzzles. For those cases, specialized puzzle glues are recommended. Additionally, this type of glue might not provide long-term protection against moisture or humidity if you plan to display your puzzle for an extended period. Regular school glue or other adhesives are not recommended for puzzles, as they may cause discoloration, damage, or insufficient bonding.
2. Wait time depends on the glue manufacturer, but I typically recommend a minimum of 24-36 hours dry time even if the manufacturer claims it can be moved in less time.
Take care!
Robert